Posted on

Converting Drummer Regions to MIDI Regions

Converting Drummer Regions to MIDI Regions

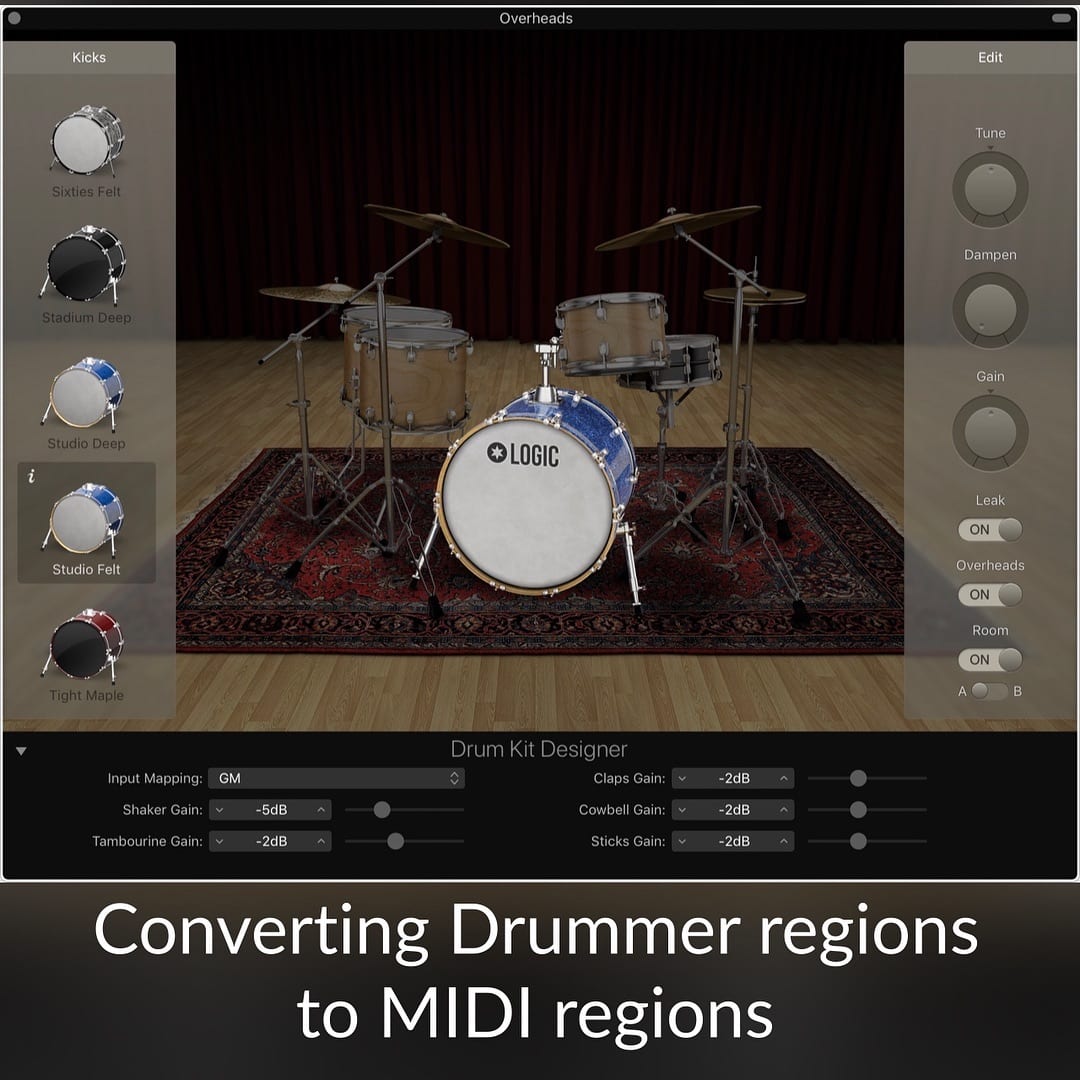
If you need absolute control over a Drummer region, you can convert it to a MIDI region. Two methods are available for converting a Drummer region to MIDI:

  • Drag any drummer region to a MIDI track. The region will automatically convert to a MIDI region.
  • Command-click a Drummer region and choose Convert > Convert to MIDI Region. The region will convert to MIDI, and the Drummer editor will no longer be available.
TIP: You can convert a MIDI region on a Drummer track back to a Drummer region by Command-clicking the region and choosing Convert > Convert to Drummer Region. However, any edits you made to the MIDI region will not be saved after the conversion.
Find out more about making beats with Logic Pro X’s drum and percussion software instruments in Chapter 9 of Logic Pro X For Dummies.
Posted on

Be fast, efficient, and prolific

Finishing projects beats endless tweaking. Be fast, efficient, and prolific. 🚀

View in Instagram ⇒

Posted on

Fusing Four Synths with Retro Synth

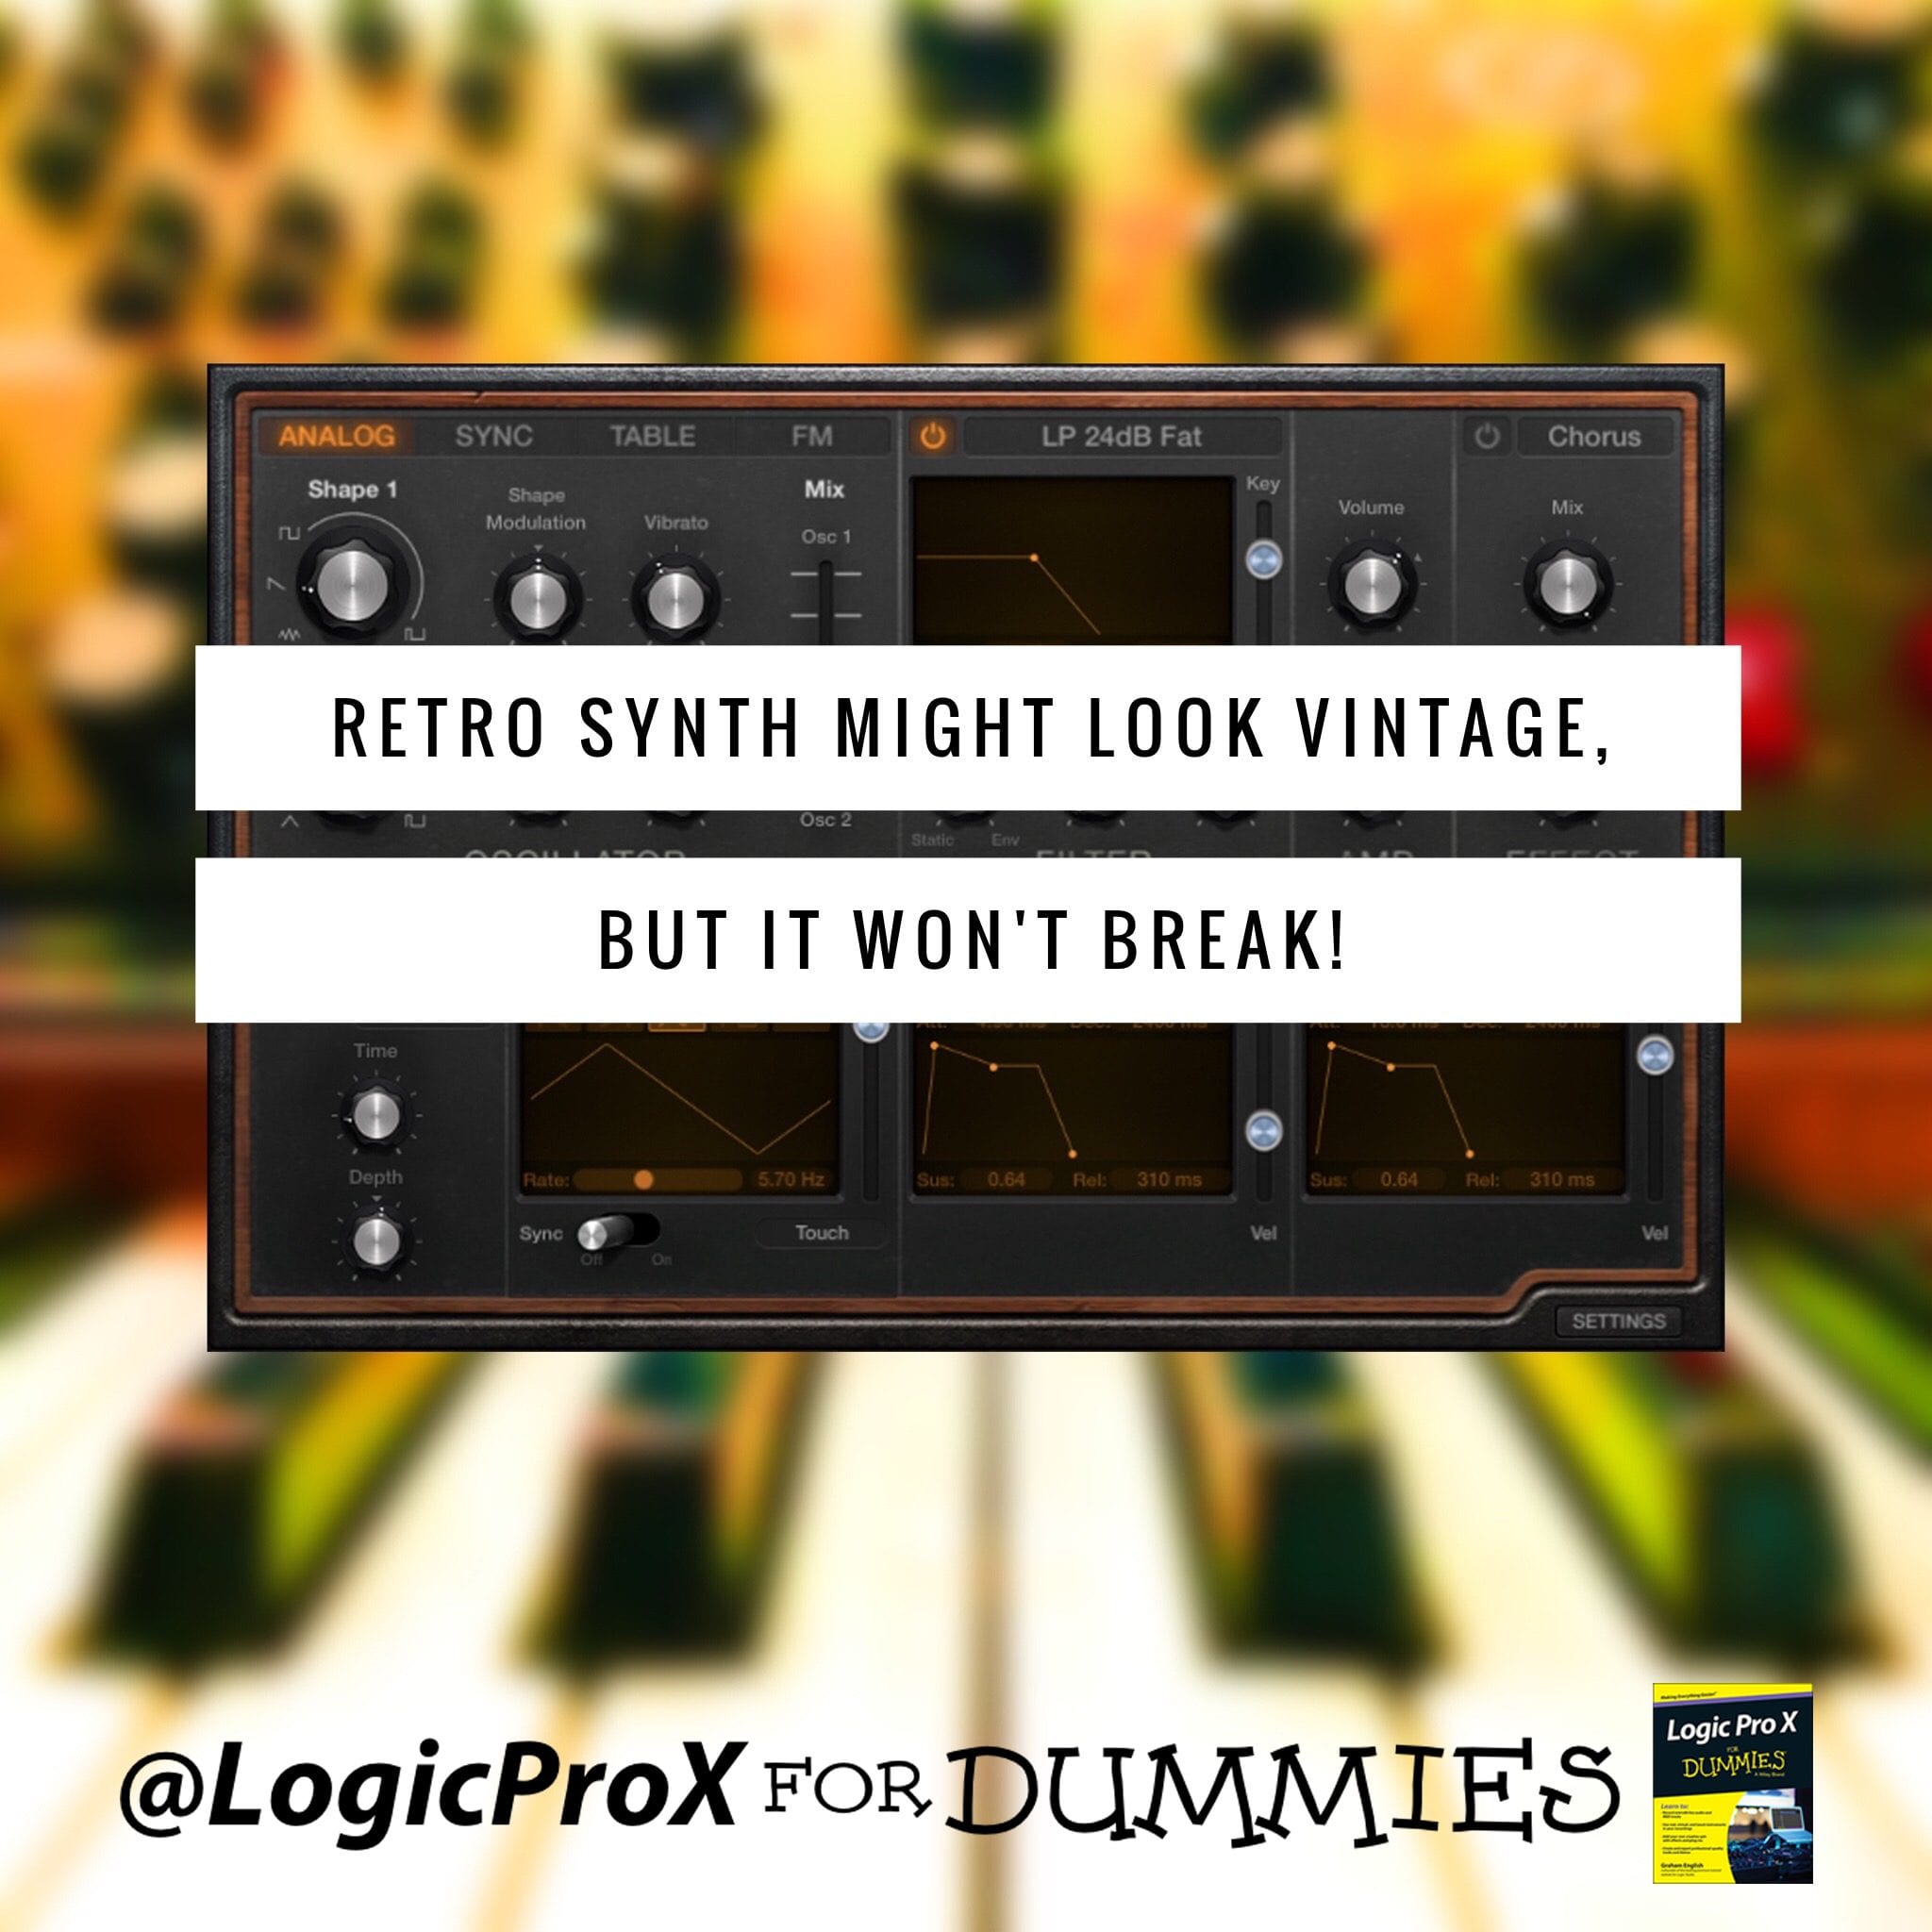
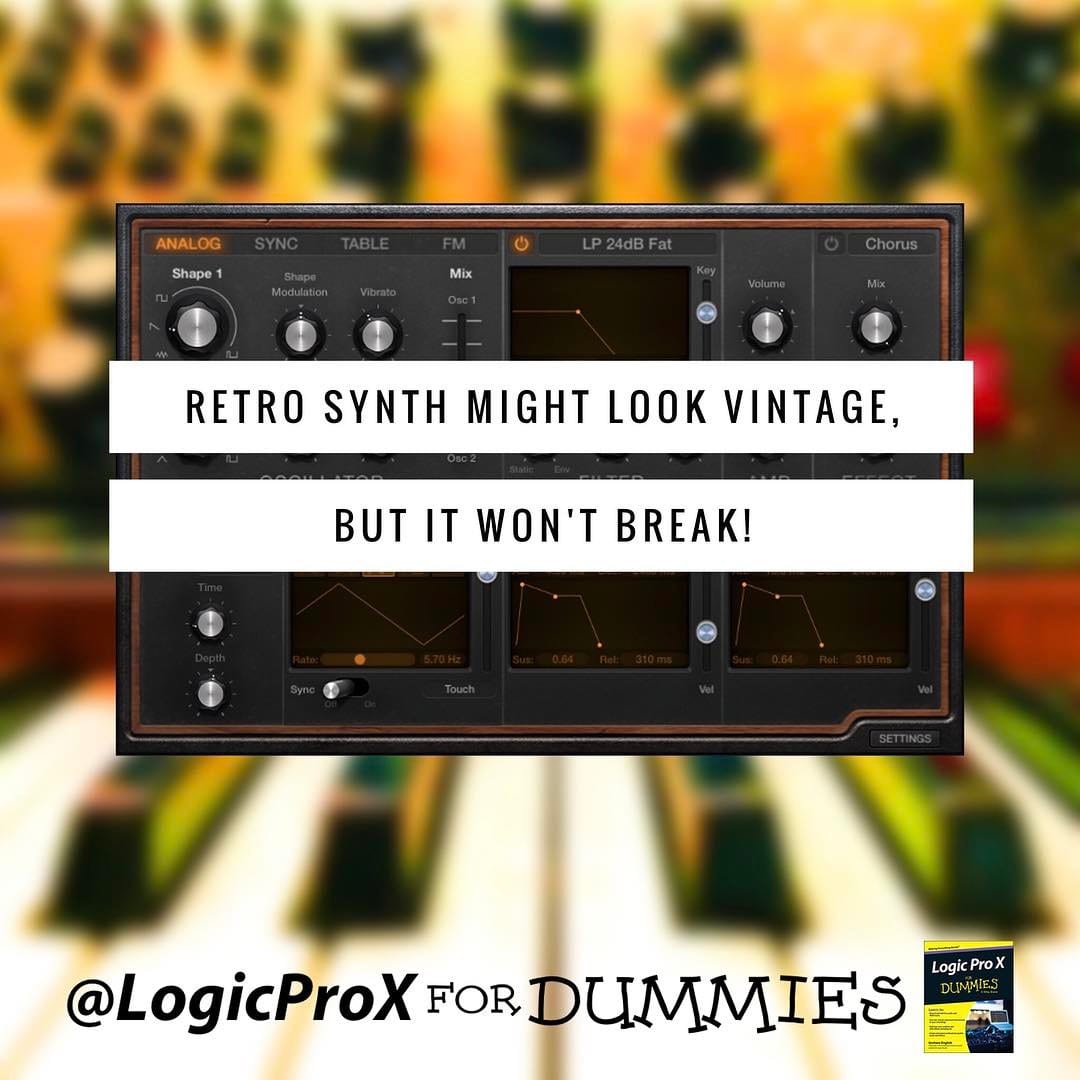
Retro Synth Might Look Vintage, But It Won't Break!

The Retro Synth is four synths in one. It’s a sixteen-voice synthesizer that can easily switch between four of the most popular types of synthesis. From deep bass to screaming leads, the Retro Synth has you covered.

The best part of Retro Synth how easy it is to dive in and get good sounds quickly. The second best part is that all these synths don’t collect dust in a wing of your rock star mansion.

Choosing your flavor of synthesis: Analog, sync, wavetable, and FM

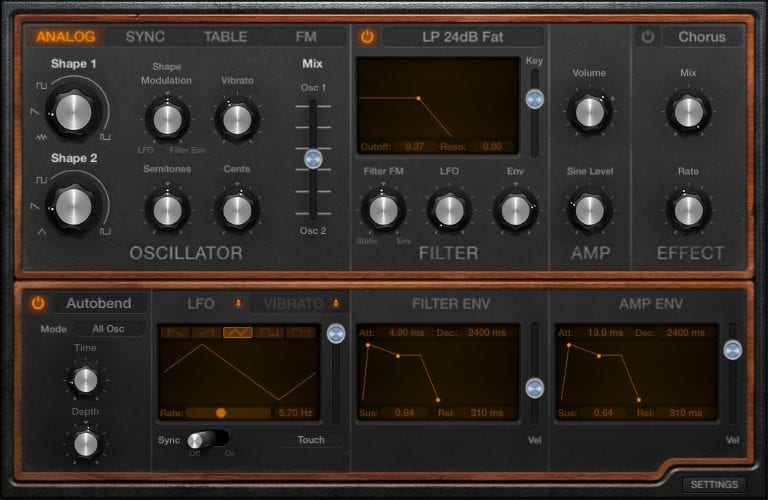
The upper-left section of the Retro Synth interface, shown in the image below, allows you to choose between the following synth engines:

  • Analog: Analog synthesis is found in classic synthesizers. It’s great for leads, basses, and pads.
  • Sync: Sync is a more aggressive type of synthesis. It’s less suitable for pads and just right for leads and basses.
  • Table: Wavetable synthesis is used for real instrument sounds in addition to synthesized sounds. It’s perfect for synth/acoustic hybrids.
  • FM: Frequency modulation (FM) synthesis creates classic digital sounds. It’s excellent for bells, electric pianos, and bass sounds.
The Retro Synth main window

Find out more about making music with virtual instruments with Logic Pro X For Dummies.

Controlling your synth parameters

After choosing a synthesis type, you can further shape your sound in the Oscillator and Filter sections:

  • Oscillator: The Retro Synth oscillators generate the waveforms that form your basic synth sound. The controls in the Oscillator section change depending on which type of synthesis you have selected. Synths are fun when you simply play with the knobs and sliders and see what happens. The Oscillator section is where you do your main tone shaping.
  • Filter: The Filter section shapes the sound coming from your oscillators. Choose the type of filter in the pop-up title bar at the top of the section. You can choose from low-pass, high-pass, band-pass, band reject, or peak filters. Each filter allows certain frequencies to pass through and can be further modified with the other filter controls.
  • Amp: The Amp section sets the global synth volume. You can also mix in a sine wave with your synth sound to make it bigger.
  • Glide/Autobend: Choose either Glide or Autobend in the pop-up title bar at the top of the section. Glide controls how the pitch of a note bends into the pitch of the following note. Autobend controls how a note bends when you first play it.
  • Global: Click the Settings button on the bottom right of the Retro Synth interface to get to the global settings. Here you can adjust pitch settings, adjust the stereo spread, and choose how many voices can be played at one time. You can also adjust how your MIDI controller interacts with the Retro Synth.

Modifying synth effects

On the top right of the Retro Synth interface is a simple Effects section where you can choose between a chorus and flanger:

  • Chorus: Chorus gives you a thick and rich sound by the use of multiple delays. You can adjust the mix of the chorus as well as the chorus rate.
  • Flanger: Flanging combines the original signal with itself, creating washy phase cancellations throughout the frequency spectrum. Like the chorus, you can adjust the mix and rate.

Modulating the synth

Modulation alters your sound to make it interesting and exciting. You can use modulation to create vibrato, modify the filters, affect the volume, and lots of other less than realistic effects.

You can modulate your oscillator waveforms with the following parameters:

  • LFO: Your low frequency oscillator (LFO) is a waveform that will modulate your sound. Choose different waveforms and rates to create unique modulations. You can control the LFO from your MIDI controller’s modulation wheel or aftertouch (pressure applied to a key on a keyboard while the key is being held down) from the source pop-up menu on the bottom right of the LFO section or both.
  • Vibrato: Add vibrato to your synth sound by using the same controls as the LFO.
  • Filter envelope: The filter envelope adjusts the attack, decay, sustain, and release (ADSR) of your filter. Drag the envelope handles in the display to adjust your filter envelope.
  • Amp envelope: Similar to the filter envelope, the amp envelope adjusts the ADSR of the overall Retro Synth volume. Faster attack times create instantaneous sounds while slower attack times make the sound appear gradually.
  • Controller: Click the Settings button on the bottom right of the Retro Synth interface to adjust global parameters such as tuning and the number of voices. The right side of the Settings section includes parameters for your MIDI controller modulation wheel, aftertouch, and velocity.
One of the best ways to learn how to program a synthesizer is to open a preset that you like and see how the sound is created. Compare two different sounds to see which parameters are affecting the sound. And don’t be afraid to fiddle with the knobs. It might look vintage, but it won’t break!
Find out more about playing Logic Pro X’s virtual vintage instruments in Chapter 10 of Logic Pro X For Dummies.
Posted on

How To Create Stems and Alternate Mixes With Logic Pro X

How To Create Stems and Alternate Mixes With Logic Pro X

Bouncing several different versions of your final mix is a common practice. Clients have different needs, and alternate versions of mixes can cover all your bases.

Sometimes, artists need versions of a mix without the vocal for performing live to backing tracks. You may even need to bounce groups of tracks separately, creating a stem mix.

Whatever your needs, bouncing alternative mixes and stems is easy using Logic Pro.

Bouncing a Stem Mix in Logic Pro X

Stem mixes have many uses:

  • You can give a remix artist the stems of the mix for remixing and DJ gigs.
  • Film scores and surround sound projects often use music stems.
  • Mixing and mastering engineers might want stems instead of individual tracks or bounced stereo tracks.

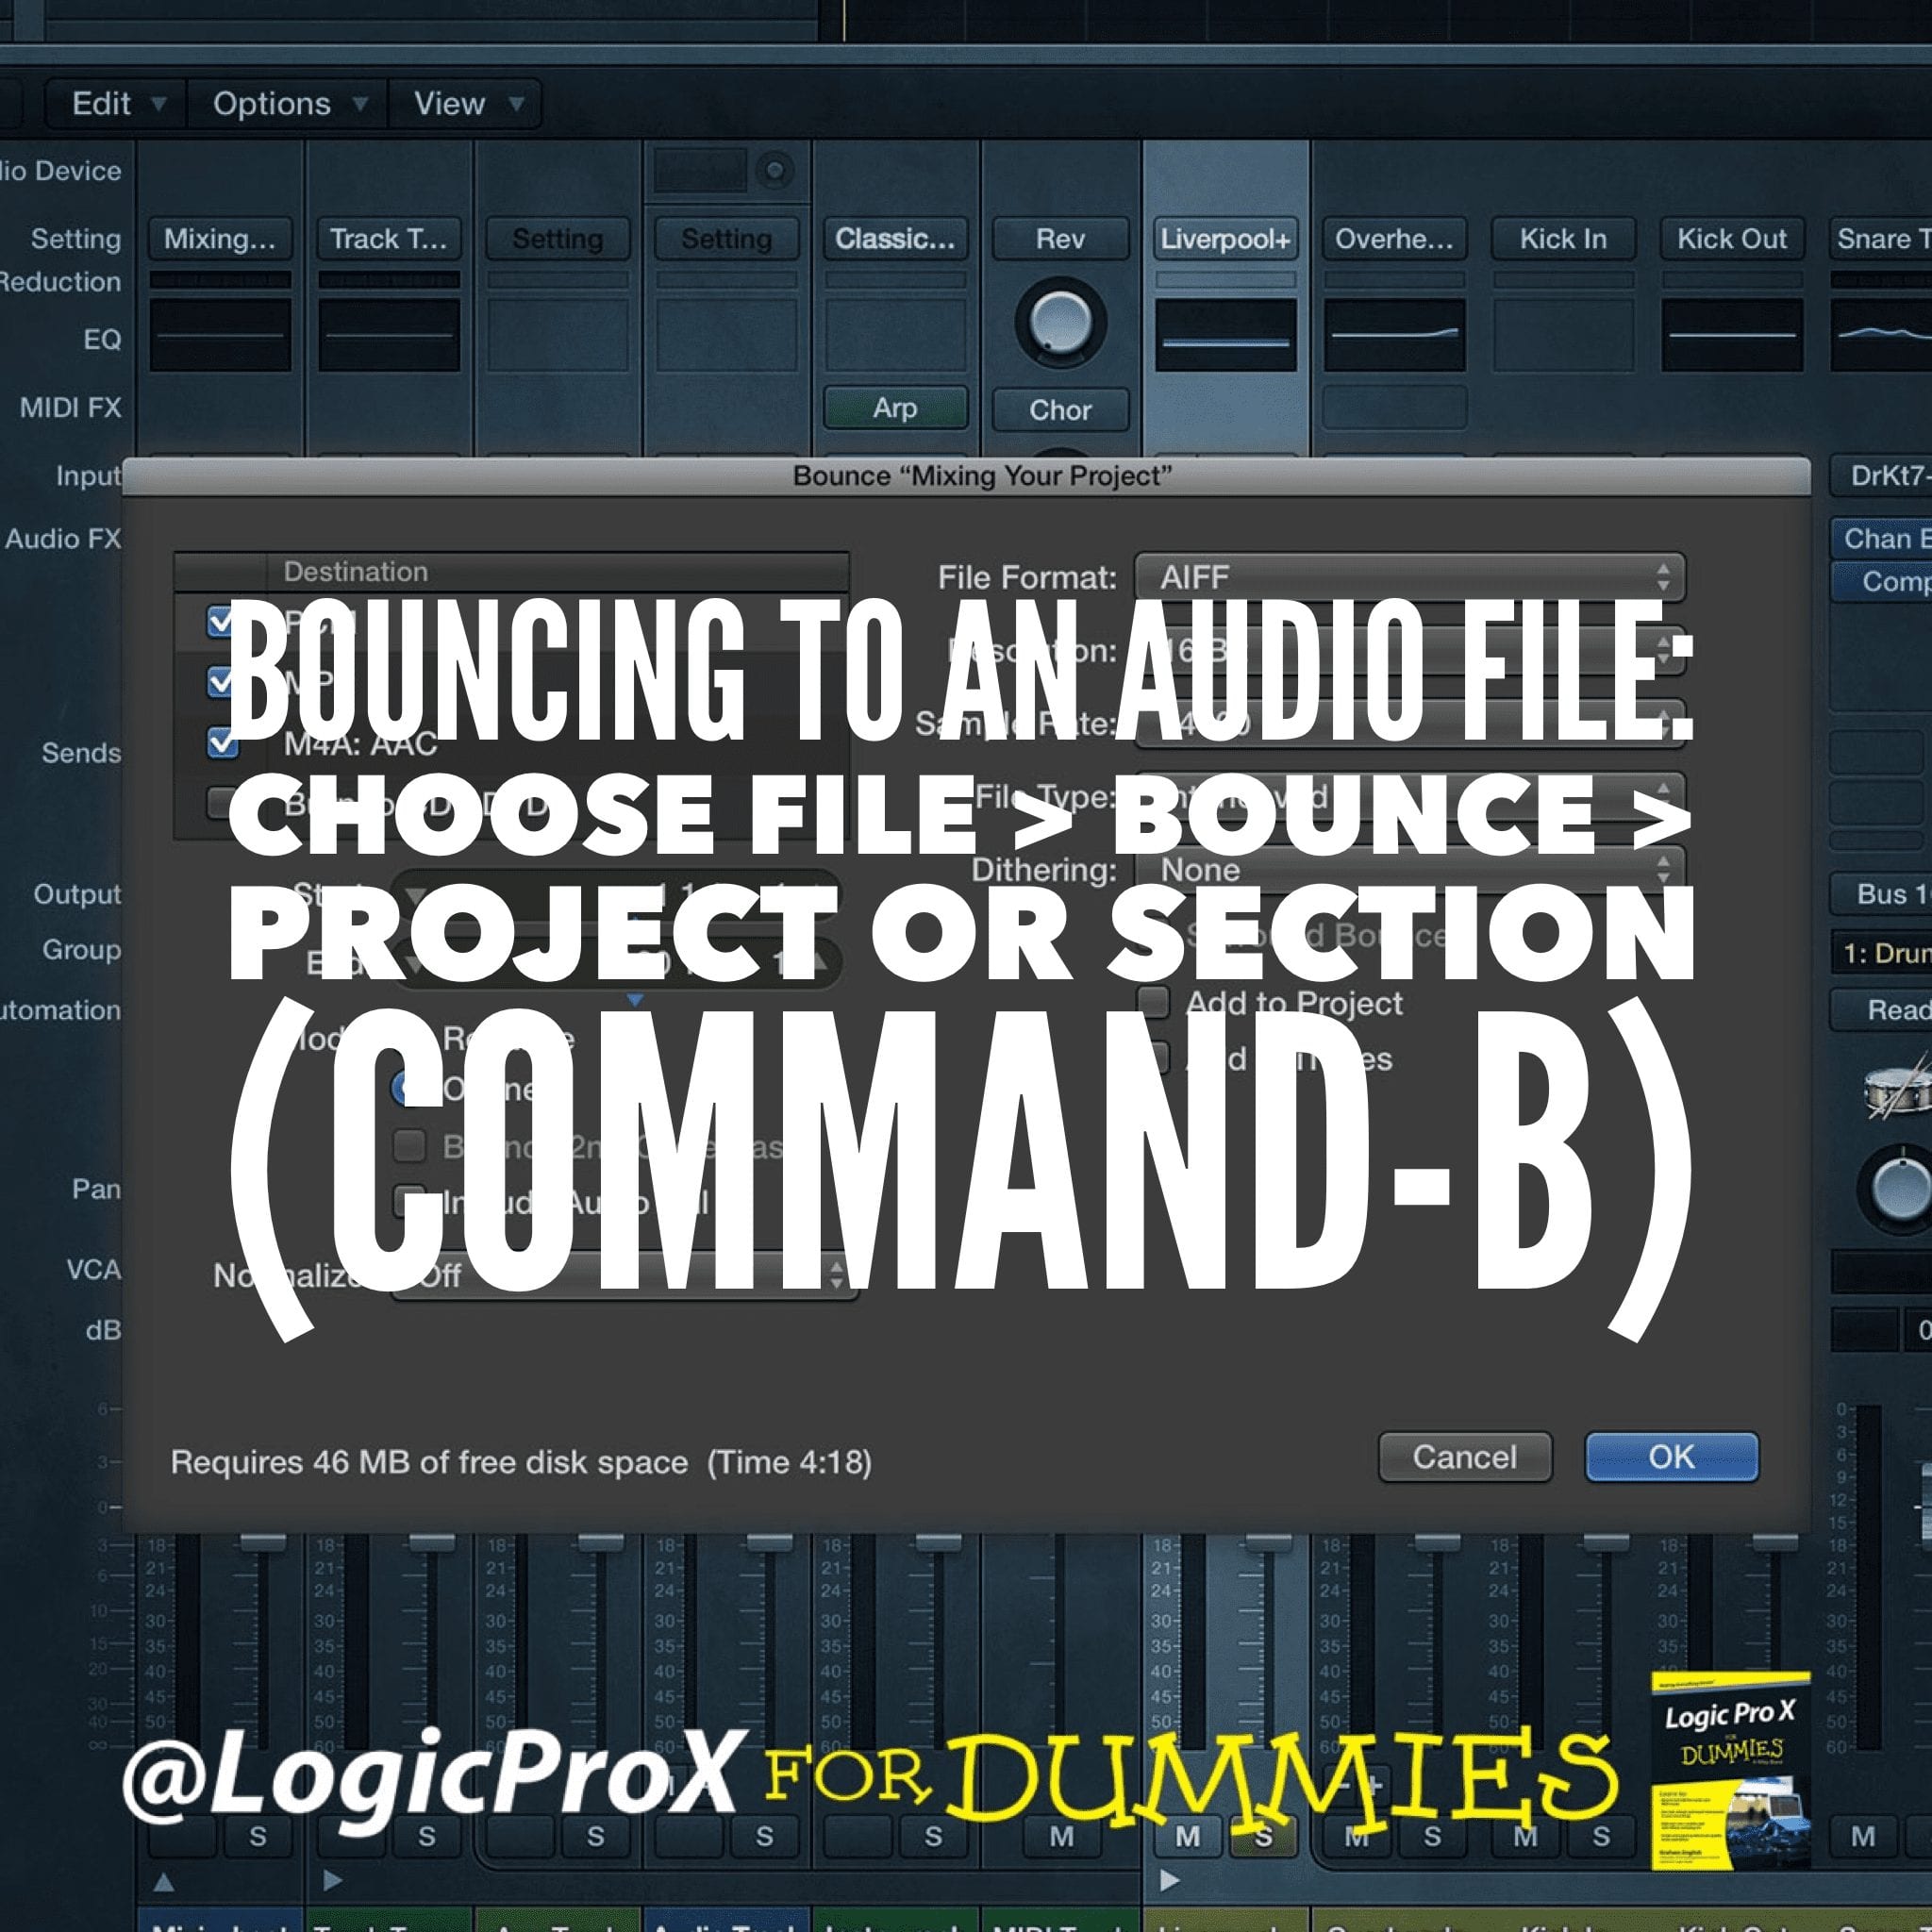
The fastest way to create a stem is to solo the tracks you want to include in the stem and bounce as described on page 327 of Logic Pro X For Dummies.

Name and catalog your stems clearly. That way, they’re easy to recognize and you won’t accidentally leave out individual tracks.

The stems you create will depend on your project and collaborators:

  • A remixer might want separate vocals, drums, and musical instruments.
  • A film score might want to separate the orchestra from any electronic instruments or sound effects.

If stems are required, you can meet the demand.

You can also use track stacks to build and organize your stems. By using track stacks, it’s easy to solo or mute the instruments in the track stack for bouncing the stems.

Bouncing Alternative Mixes in Logic Pro X

When it comes to mixing popular music, you can make several common alternate mixes. And it’s probably best to make them even if no one asks for them.

Making an alternate mix takes little time, and you may end up liking one of the alternates better.

Here’s a list of common alternate mixes:

  • Without vocals
  • Vocals only
  • Vocal up/vocal down
  • Without solo
Find out more about mixing, mastering, and sharing your music in Chapter 19 of Logic Pro X For Dummies.
Posted on

There’s No Disputing Matters of Taste 😋

There’s no disputing matters of taste. 😋

If you let people listen to your music, eventually you’re going to get criticized.

Some criticism will be severe and some will be downright cynical.

Try your hardest to tolerate criticism and you’ll grow as a musician.

Nobody I know enjoys negative criticism. But if you learn how to use it, it can improve your work.

Here are some tips that will help you receive criticism…

Ignore personal attacks.

If someone hears your music and decides to attack you personally, let that reflect on their character and not yours.

You might consider how your music could provoke that response. After all, you were successful in making someone feel something strongly. Maybe it wasn’t what you wanted, but at least your music isn’t forgettable.

Ponder the reaction.

People have different tastes and music appreciation is subjective.

Much of the criticism you receive will depend on comparing your music to other music. Even unconsciously, people test what they hear against what they’ve already heard.

Take criticism and consider where it’s coming from and what your music would sound like if you changed it. Then consider why you made the choices you made.

There are no right answers. But questions can bring deeper awareness to your creative process.

Don’t defend your music.

Arguing is useless. A critic will defend their criticism against your defense of your music.

If you want to continue the conversation, feel free to explain what you were trying to do. Just don’t try to prove anyone wrong.

There’s no disputing matters of taste.

Remember that when you’re on the giving end of a critique. If you hear some music and don’t like it, it doesn’t mean the music is bad. It means you’re not the ideal audience for the music.

Treat other’s music as you want your music treated.

Respect.
Posted on

How To Organize Your Logic Pro X Projects With Folder Track Stacks

Track stacks, an innovation in Logic Pro X, help you organize your tracks. Two types of track stacks are available:

  • Folder stack: A folder stack can control the volume of all the tracks in the track stack. All the tracks can be automated, soloed, muted, and grouped as a whole. But folder stacks can’t be saved as patches and you can’t add effects to the entire group or control their audio output as a group.
  • Summing stack: This stack routes audio, saves all tracks and their settings, and can be saved as a patch for later recall. All tracks in a summing stack send their audio outputs to a collective auxiliary track. You can find out more about audio routing and auxiliary tracks in Chapter 16 of Logic Pro X For Dummies.

To create a track stack, follow these steps:

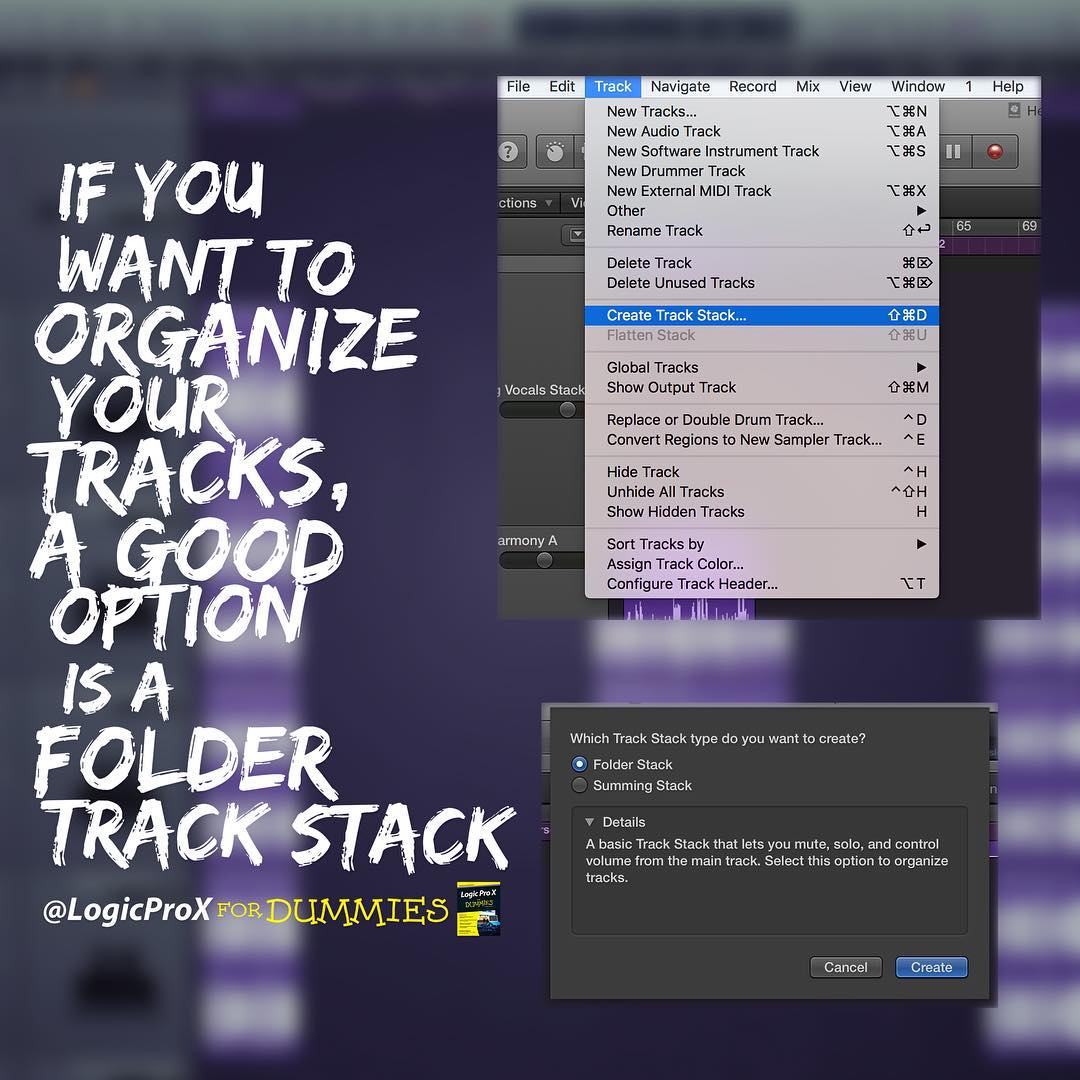
  1. Select the tracks you want to include in the track stack. To select more than one track at a time, hold down the Command key while making your selections.
  2. Press Shift-Command-D or choose Track > Create Track Stack.
  3. Select the type of track stack you want to create. Your choices are Folder Stack or Summing Stack.
  4. Click Create. The tracks are now grouped in a track stack.

You can remove the tracks from a track stack by selecting the track stack and choosing Track > Flatten Stack or pressing Shift-Command-U.

Summing track stacks can be saved as a patch for instant recall. For example, you can build an entire orchestral project with dozens of software instrument tracks (as described in Chapter 12 of Logic Pro X For Dummies.) and save the tracks as a patch. Your orchestral track stack is then available for all your projects.

Like smart controls, track stacks deliver a more productive workflow.

To save a track stack as a patch, follow these steps:

  1. Select the track stack in the track list.
  2. Open the library by pressing Y or by choosing View > Show Library.
  3. Click the Save button at the bottom of the library and name your patch.
  4. Click Save. Your patch is now saved in the library.

To load a patch on a selected track, simply select the patch in the library.

Find out how tracks and regions work, how to adjust your tempo and time signature, save track settings for instant recall, and edit and loop regions in Logic Pro X For Dummies.

Spend a minute organizing, gain an hour of procrastination. 😉