Posted on

Understanding Digital Clipping in Logic Pro X

Discover how to mix, master, and share your music with Logic Pro X For Dummies

Using Meters to Visualize Volume and Levels

The meters in Logic Pro are measured in dBFS, which stands for Decibel Full Scale. 0 dBFS is the top limit and anything above that is digital clipping.

Digital clipping means that the signal has gone beyond maximum capacity. The result is distortion in the audio, and not the good kind of distortion that rock guitar players know and love.

Digital distortion is a very unpleasing sound and you want to avoid it completely.

When digital audio came along, 16 bits was the maximum resolution. 16-bit audio accounted for about 96 dB of recordable space and it was deemed important to record and mix as close to 0 dBFS as possible to keep noise low and use the full digital resolution.

Since Logic Pro is capable of 24-bit recording, you can record better signals at much lower levels and regain the headroom that was a major benefit of analog mixes. In fact, you’d have to lower your mix by 48 dB to equal a 16-bit recording!

Lowering your mixing levels gives you more headroom and makes mixing easier because you’re not always fighting red lights (digital clipping) and having to readjust your balances. It makes it easier to work with third party effects plugins or outboard analog gear, and it makes it much easier to raise the final level at the mastering stage.

Choosing Pre-Fader or Post-Fader Metering

Audio professionals have a common complaint with Logic Pro’s meters: they default to post-fader. In post-fader metering, the position of the fader affects the level of the meters. With post-fader metering enabled, if your channel strip fader is all the way down, the meters will show no level.

Post-fader metering offers visual assistance when you’re using a “mix with your eyes” approach. You can see the track level with your eyes on the meter based on where your fader is. That’s not a bad thing, but it’s definitely not the whole picture.

Switching to pre-fader metering shows you the level of the signal regardless of where the fader is. Pre-fader metering allows you to see if a track is clipping, even when your fader has pulled the level all the way down.

You’d be surprised how many software instrument presets clip right from the start. You need to know exactly what signal level is hitting the channel so you can make the appropriate decisions when it comes to adding effects like compression, EQ, or other effects.

On analog mixing consoles, many engineers will set the faders to unity gain (the default position) and quickly get track levels stable using a trim control. If you need or want to, you can do something similar by putting Logic Pro’s Gain plugin in the first insert effects slot and setting the basic rough level with the plugin and using the channel strip fader to fine tune the level.

Another complaint is that peak level meters, the type Logic Pro and most digital audio workstations use, have almost nothing to do with loudness.

For example, two takes from a drummer can sound equally as loud but one take can peak 4-10 dB higher on a single snare hit. If you raise the other take so that they both peak at the same level, one will sound much louder, maybe even twice as loud.

To judge loudness, the ear responds to average levels and not peak levels. Peak meters are great for when you need to be concerned with clipping, and you’re always concerned with that, but they don’t help you perceive loudness very well.

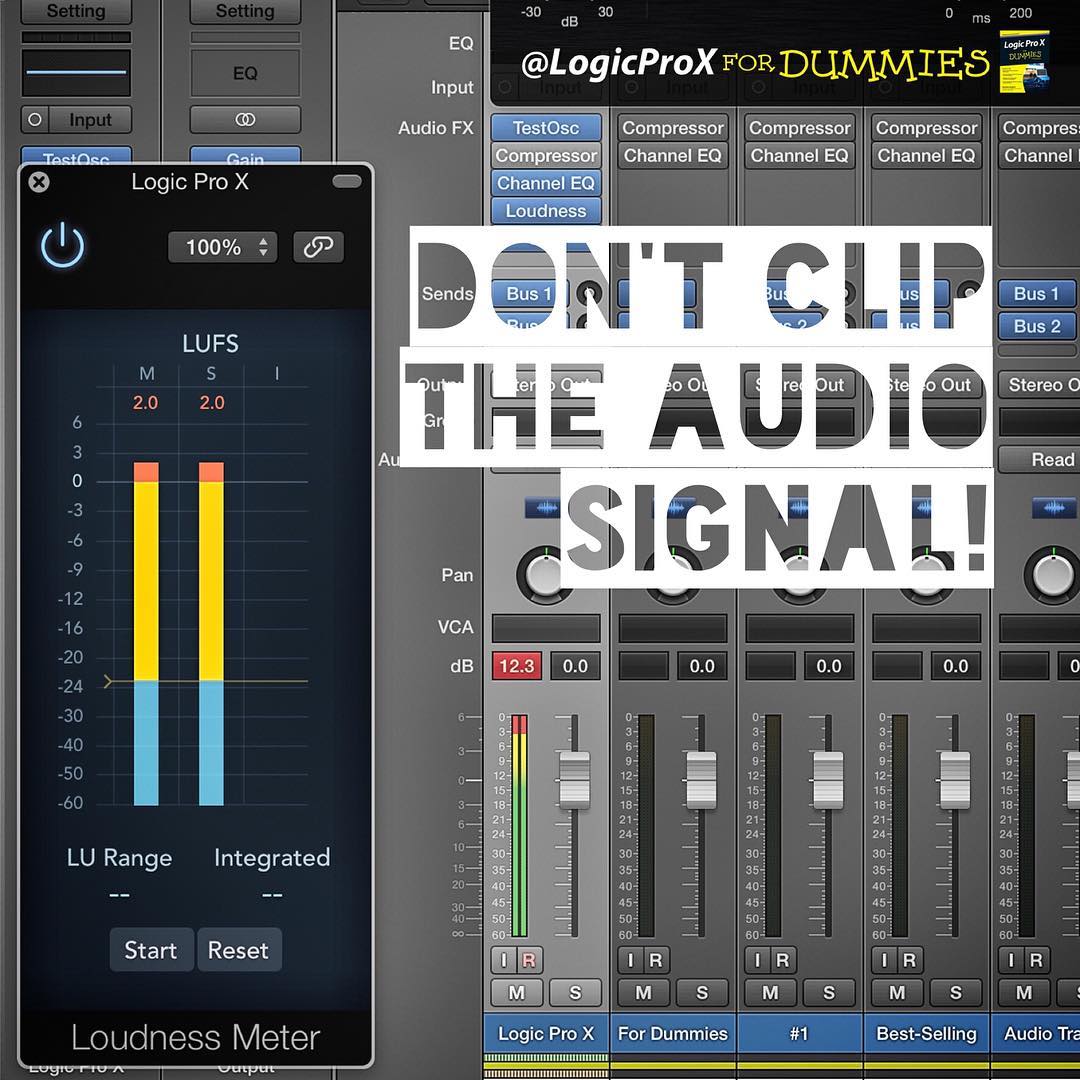
That’s why audio professionals often work with VU meters (volume units), which more closely respond like an ear. A new version of Logic Pro X 10.2.3 comes with a new Loudness Meter plug-in to help you measure volume.

To switch to pre-fader metering:

  1. Control-click an empty area of the control bar and choose Customize Control Bar and Display. The customization dialog opens.
  2. Select Pre Fader Metering from the Modes and Functions column. Click OK.
  3. The Pre Fader metering icon is added to the control bar, as shown in Figure 16-9.
  4. Click the pre fader metering icon to turn it on.

Find out more about using meters to visualize volume and levels on pages 284-286 of Logic Pro X For Dummies

Remember, don’t clip the audio signal! 🎚

Posted on

Drawbars Will Get Your Tone In Shape 💪🎹

Spinning Your Tonewheels with the Vintage B3

(Page 155, Logic Pro X For Dummies)

The Hammond B3 is an important part of music history, and with the Vintage B3, you can put its sonic stamp on your own music. Since the Hammond B3 organ is found in country, gospel, reggae, rock, jazz, pop, and more, it’s safe to say that you’ll want to use the Vintage B3.

The Vintage B3 software instrument and rotor cabinet simulation emulate the real thing to the point that you can edit the age of a single component to make your organ sound fresh from the factory or 50 years old!

Understanding Drawbars

Your drawbars are your main tools for tone shaping. You can always get to them quickly by using your track’s smart controls or by clicking the Main button, which is on the top control bar of the Vintage B3 organ interface.

Take a look at your three sets of drawbars — Upper, Pedals, and Lower. Pull the drawbar out (by pulling down) to make the drawbar louder, and push the drawbar in (by pulling up) to make the drawbar quieter or silent. Drawbars are like mixer faders but in reverse.

Main window of the Vintage B3 Organ

The upper and lower nine drawbars correspond to the upper and lower keyboards of a Hammond B3 organ. These two keyboards are called manuals. B3 players usually play bass lines and rhythm parts on the lower manual and solos and melodies on the upper manual, though anything goes in the hands of a skilled musician. The pedal drawbars correspond to the B3 foot pedals. Each set of drawbars control the volume of different aspects of the pitch you are playing.

Sine waves and the harmonic series

The Hammond B3 tone wheel was designed to create a pure sine wave, the simplest sound in existence. Playing a key on the B3 spins a tone wheel that generates a pure pitch. Every pitch corresponded to a frequency, which is the number of cycles that the sound completes in one second. All sounds except a pure sine wave contain different frequencies based on the mathematical harmonic series.

The third drawbar of the Hammond B3 is close to a pure sine wave. The other drawbars are frequencies of the harmonic series, and control the complexity of the sound so that you can create and mold sounds similar to a flute, an oboe, a trumpet, or even a string section.

The drawbars in relation to the harmonic series
The drawbars in relation to the harmonic series.

Find out more about using drawbars, loading and playing the vintage instruments, producing classic and creative tones, and understanding keyboard and synthesizer fundamentals in Chapter 10 of Logic Pro X For Dummies.

Drawbars will get your tone in shape! 💪🎹

Posted on

Don’t Forget To Consolidate And Back Up Your Projects! 😫🖥🔨

Don't forget to consolidate and back up your projects!

What would you do if your computer was stolen or ruined?

Barring the financial considerations of buying a new computer, could you recover quickly?

If I were to lend you my own computer, could you rebound and save the game?

If you couldn’t, please pay attention, for the sake of your music!

Recover From Problems With Project Backups

(Page 24, Logic Pro X For Dummies)

I’m a backup fanatic.

I back up all my computers using Apple Time Capsule, built-in Time Machine software, and a few rotating external drives. I also back up my entire computer offline using Amazon S3 cloud storage.

But wait, there’s more…

I sync my current projects using Dropbox so I can work on them at multiple computers.

Logic Pro X also creates project backups every time you save your project. As long as you have Show Advanced Tools selected in the Advanced Preferences pane (see Chapter 1), you can revert to an earlier saved version of your project.

Every time you save your project, a backup is made. You can revert to these backs by choosing File > Revert To. A list of your time-stamped project backups allows you to go back in time to a previously saved project. This feature saves you when you try things out that you don’t like or make mistakes while working.

Find out more about autosaving your hard work, creating options with project alternatives, and saving time with project templates in Chapter 2 of Logic Pro X For Dummies.

And please, don’t forget to consolidate and back up your projects! 😫🖥🔨